Working with tables
When working with tables, you can select multiple items to apply an action. If you have grouped items by assigning them to floors, areas, labels, or directories, you can also filter your data accordingly.
Selecting multiple items in a table
-
In your table, select the
button. 
-
In the list, select the items of interest.
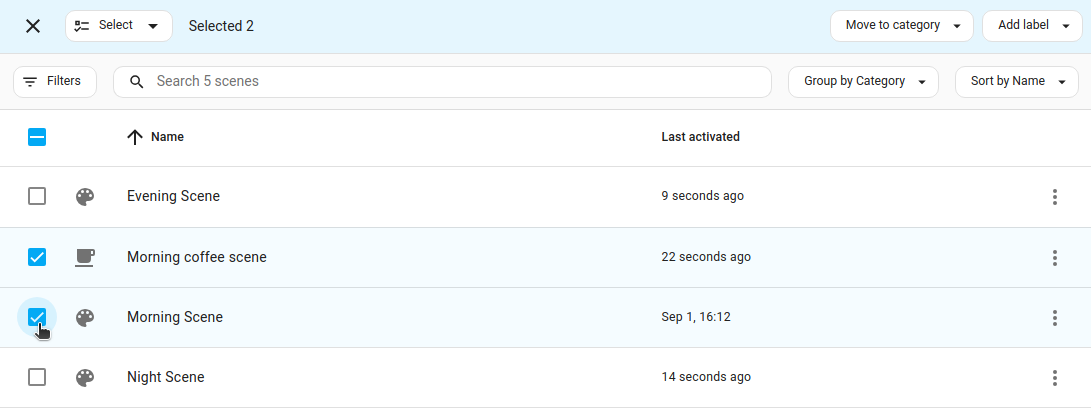
-
You can now apply changes to all selected elements, such as applying labels or enabling or disabling entities and automations.
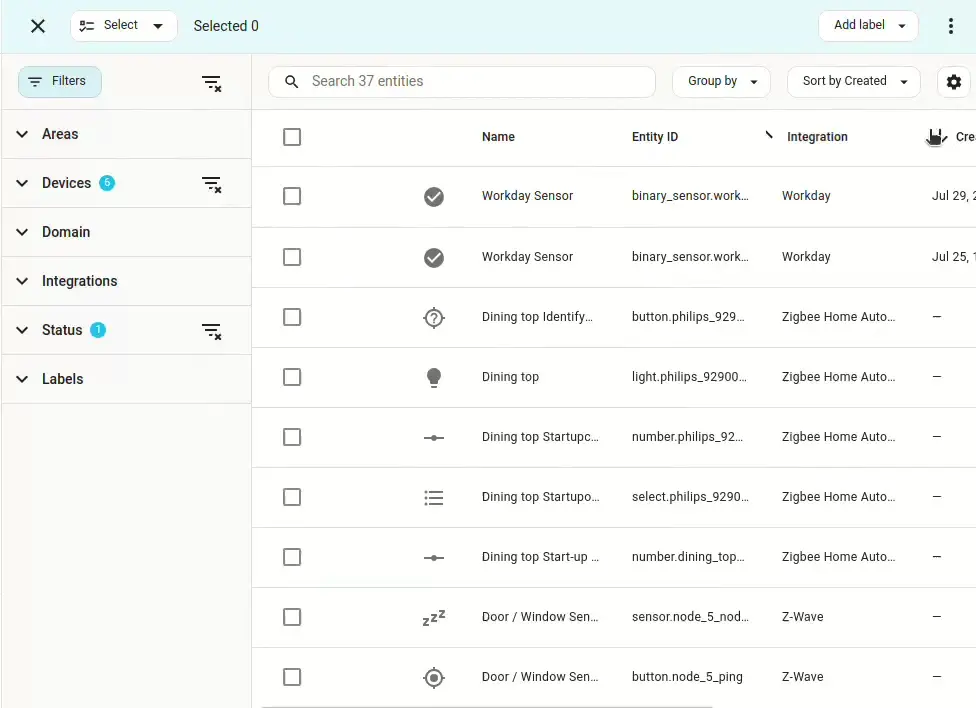
Filtering items in a table
You can filter a table so that only items matching certain criteria are shown.
To filter items in a table, follow these steps:
-
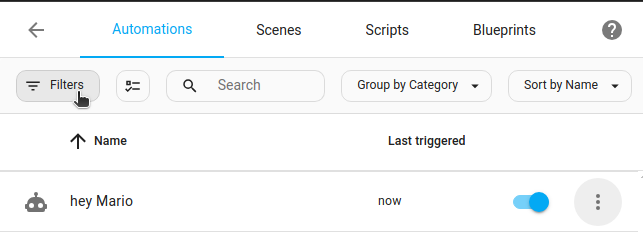
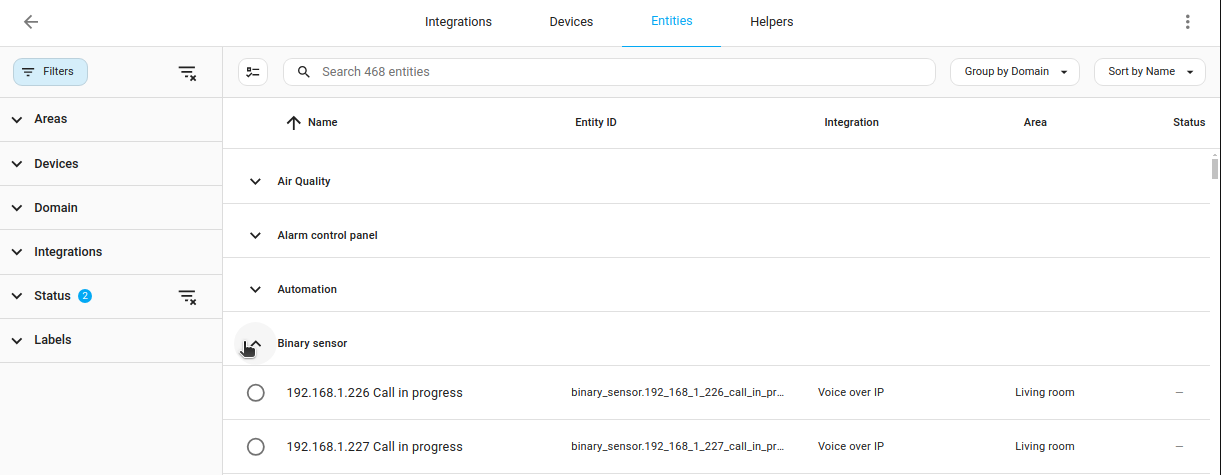
In the top left corner above the table, select the Filters button.
-
In the filters panel, select your filter criteria.
- You can filter for floors, areas, labels, and categories if you have previously defined them.
- The list of available criteria depends on the type of table.

Grouping and sorting items in a table
You can group items in a table according to certain criteria. The number of shown items stays the same. No items will be hidden.
To group items in a table, follow these steps:
-
In the top right above the table, select the Group by button.
-
The items will be grouped according to the criteria you chose.
- The list of available criteria depends on the type of table.
- The example shows a list of devices, grouped by manufacturer.
- In contrast, the entities table does not allow grouping by manufacturer, but by entity domains.
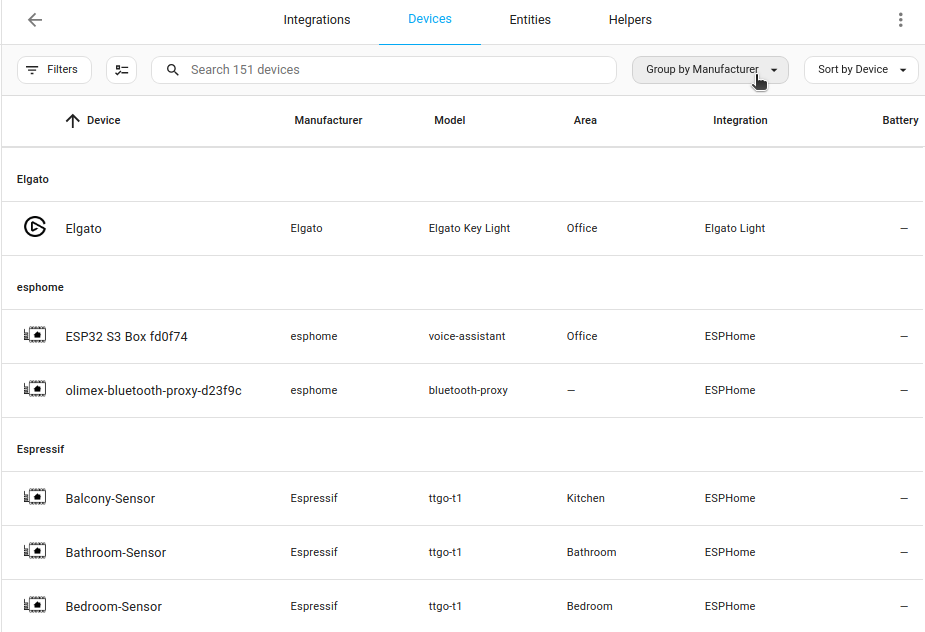
- The list of available criteria depends on the type of table.
-
To sort the items, select the Sort by button.
-
To get a better overview, you can collapse groups in the list.
Customizing columns
You can show or hide columns and change the order. Your customized columns are stored in your browser, so you only have to set it up once, and it will be remembered for the next time you visit the page.
To customize columns, follow these steps:
-
In the top right corner of the table, select the cog wheel.
-
To hide a column, deselect it.
-
To rearrange the order, grab the column and move it to its new position.
-
To sort, select the column header of interest.