Installation
The first step to getting started with Home Assistant is to install it on a device. There are many ways to run it for all kinds of scenarios and all kinds of skill levels.
Plug and play with Home Assistant Green
The affordable Home Assistant Green is the easiest way to start using Home Assistant. It's plug-and-play and comes with Home Assistant Operating System already installed.
DIY with Raspberry Pi
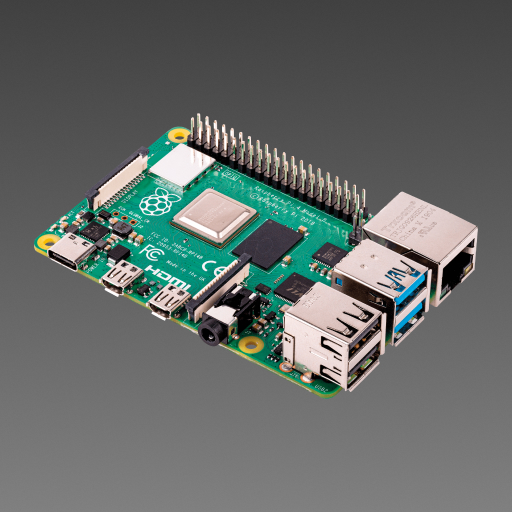
Raspberry Pi, a mini low-cost computer, is one of the most popular platforms for running Home Assistant. If you want to learn how to DIY, this is a good way to start and gain experience.
About installation types
Home Assistant offers two different installation types. Home Assistant Operating System is the recommended installation type.
- Home Assistant Operating System: An embedded, minimalistic operating system designed to run the Home Assistant ecosystem on single board computers (like the Home Assistant Green or a Raspberry Pi) or Virtual Machines. It is the most convenient option in terms of installation and maintenance and it supports add-onsAdd-ons are additional standalone third-party software packages that can be installed on Home Assistant OS. [Learn more]. Home Assistant Operating System is the recommended installation type for most users.
-
Home Assistant Container: Container-based installation of Home Assistant. You need to bring your own system (such as Linux) with container orchestration (like Docker), and manually handle updates. Home Assistant Container installations don’t have access to add-onsAdd-ons are additional standalone third-party software packages that can be installed on Home Assistant OS. [Learn more].
- Note: Some integrations, such as Thread and Z-Wave, are controlled by add-onsAdd-ons are additional standalone third-party software packages that can be installed on Home Assistant OS. [Learn more]. There is no out-of-the-box support for these on Container installations.
| HA OS1 | Container1 | |
|---|---|---|
| Automations | ||
| Dashboards | ||
| Integrations | ||
| Add-ons | ||
| Blueprints | ||
| One-click updates | ||
| Backups |
- Home Assistant Operating System
- Home Assistant Container
Extend with Home Assistant Yellow
The extensible Home Assistant Yellow comes with all the ingredients you need to help you build a robust smart home. All you need to do is to bring your own Raspberry Pi Compute Module.
Install on other hardware
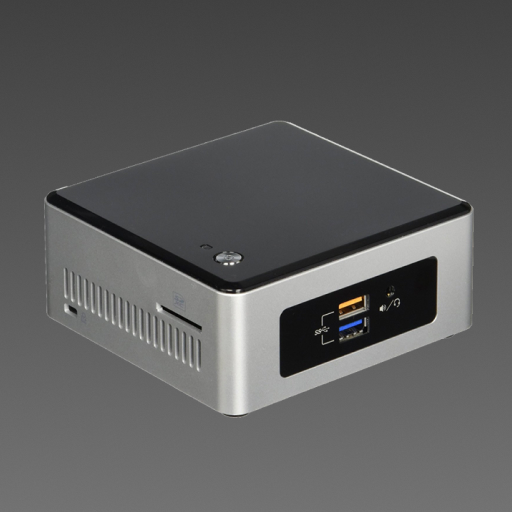
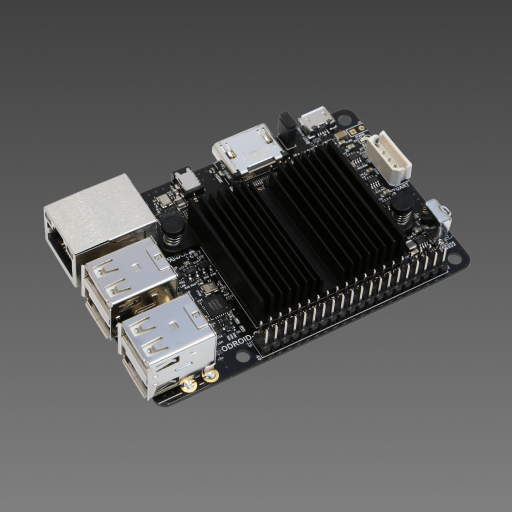
Home Assistant can be repurposed and installed on various hardware, such as an Odroid or a generic x86-64 machine. The Home Assistant Operating System allows you to install Home Assistant on these devices even if you have little to no Linux experience.

Install Home Assistant on x86-64 machines
Repurpose workstation hardware to run Home Assistant
- You can use a command line and install a boot medium on your hardware
- You're comfortable configuring the BIOS based on instructions.
- An x86-64 machine
- Storage hard drive
- USB stick
- Ethernet connection

Install Home Assistant variants on Raspberry Pi
A low-cost DIY solution to get started with Home Assistant
- Assembling a Raspberry Pi setup
- Flashing a Raspberry Pi
- Advanced knowledge of Linux
- Using Linux command line
- Raspberry Pi 3, 4 or 5 with power supply
- MicroSD card
- Ethernet connection
Deprecated installation types
Home Assistant used to offer two additional installation types for advanced users: Home Assistant CoreHome Assistant Core is the Python program at the heart of Home Assistant. It is part of all installation types. It can be installed standalone (without Home Assistant Supervisor) as a container using Docker (this is typically referred to as the Home Assistant Container installation type). For development, Core can also be run using a Virtual Environment (previously referred as the Home Assistant Core installation type). For production setup, the Home Assistant Core installation type is deprecated. and Home Assistant SupervisedThe Home Assistant Supervised installation type is a full UI managed home automation ecosystem that runs the Home Assistant Core program, the Home Assistant Supervisor and add-ons. It comes pre-installed on Home Assistant OS, but can be installed standalone on Debian Linux systems. It leverages Docker, which is managed by the Home Assistant Supervisor. The Home Assistant Supervised installation type is deprecated.. These two methods are now deprecated and no longer recommended for new users.
- Home Assistant Supervised: Manual installation of the Supervisor.
- Home Assistant Core: Manual installation using Python virtual environment.


