Advanced Configuration
The onboarding process takes care of the initial setup for Home Assistant, such as naming your home and selecting your location. After initial onboarding, these options can be changed in the user interface by clicking on Configuration in the sidebar and clicking on General, or by manually editing them in the Home Assistant configuration file called configuration.yaml. This section will explain how to do the latter.
The steps below do not apply to Home Assistant Core & Container installations, for those types of installations, see here.
We are going to help you make your first changes to configuration.yaml. To do this, we are going to install an add-on from the Home Assistant add-on store: the File editor. To get to the add-on store, go to Settings > Add-ons. On the new page, open the add-on store tab.

Under the Official add-ons section, you will find the File editor add-on.
- Click on File editor and click on Install. When the installation is complete, the UI will go to the add-on details page for the file editor.
- Now start the add-on by clicking on Start.
- Open the user interface by clicking on Open Web UI.
Now let’s make a change using the file editor: we are going to change the name, location, unit system, and time zone of your Home Assistant installation.
- Click the folder icon in the top left of the file editor window to open the file browser sidebar.
- Click the
configuration.yamlfile (in the/config/folder) to load it into the main file editor window. - Add the following to this file (preferably at the very top, but it ultimately doesn’t matter):
    homeassistant:
      name: Home
      latitude: xx.xxxx
      longitude: xx.xxxx
      unit_system: us_customary
      time_zone: America/Chicago
Valid options for unit_system are us_customary or metric. See here for a list of valid time zones. Enter the appropriate option found under the Time Zone column at that page.
- Click the save icon in the top right to commit changes.
- Most changes in
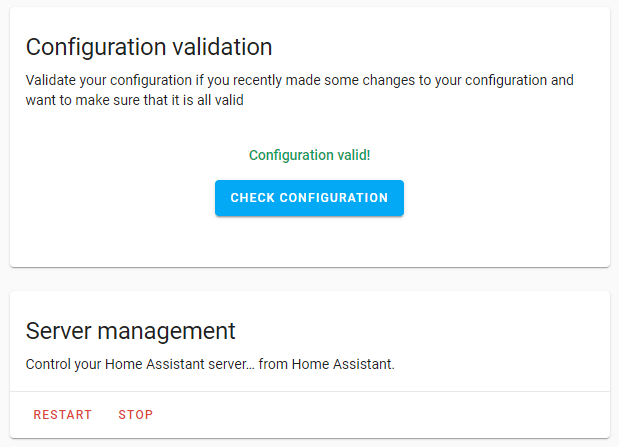
configuration.yamlrequire Home Assistant to be restarted to see the changes. You can verify that your changes are acceptable by running a configuration check. Do this by navigating to Developer Tools > YAML and then clicking on the Check configuration button. When it’s valid, it will show the text “Configuration valid!”. In order for the Check Configuration” button to be visible, you must enable Advanced Mode on your user profile. - Now restart Home Assistant. You can do so by either using the Restart option in the ⚙ menu of the File Editor UI or by navigating to Settings > System and then clicking on the Restart button on the top right of the page.

If you have watched any videos about setting up Home Assistant using configuration.yaml (particularly ones that are old), you might notice your default configuration file is much smaller than what the videos show. Don’t be concerned, you haven’t done anything wrong. Many items in the default configuration files shown in those old videos are now included in the default_config: line that you see in your configuration file. See here for more information on what’s included in that line.
Editing configuration via Samba/Windows Networking
Maybe you are not a big fan of our web editor and want to use a text editor on your computer instead. This is possible by sharing the configuration over the network using the Samba add-on, which can also be installed from the Home Assistant add-on store. This will make your configuration accessible via the network tab on your computer.
Go to the add-on store and look for Samba in the core section. After you have installed the add-on, click on Start. Home Assistant should now be available in the networking tab on your computer.
We suggest that to edit configuration.yaml, you use the free text editor Visual Studio Code in combination with the Home Assistant Configuration Helper extension.