Blog
Want to help others? Leave your AI at the door
 Paulus Schoutsen
Today we’re introducing a new rule for the Home Assistant community: it’s no longer allowed to use ChatGPT or other AI systems to help others.
Although these systems generate elaborate and well structured answers, they are wrong. Often they are wrong in subtle ways which only someone with the right expertise could detect. And those people wouldn’t need AI to have written that answer.
We appreciate that people want to help others, but if you don’t have the knowledge, leave it to someone else. Giving an incorrect answer makes things worse. You are wasting everybody’s time, including the person asking the question. Trying out an answer that doesn’t work is frustrating because you think you’re doing something wrong.
Using an AI system to generate an answer while not providing attribution to AI will result in a ban. If you use attribution, we will delete your post and issue a warning. This also means suggesting someone “ask ChatGPT” is not an acceptable response.
If AI systems get better, we will revisit this rule.
Home Assistant coming for your car!
 Daniel Shokouhi
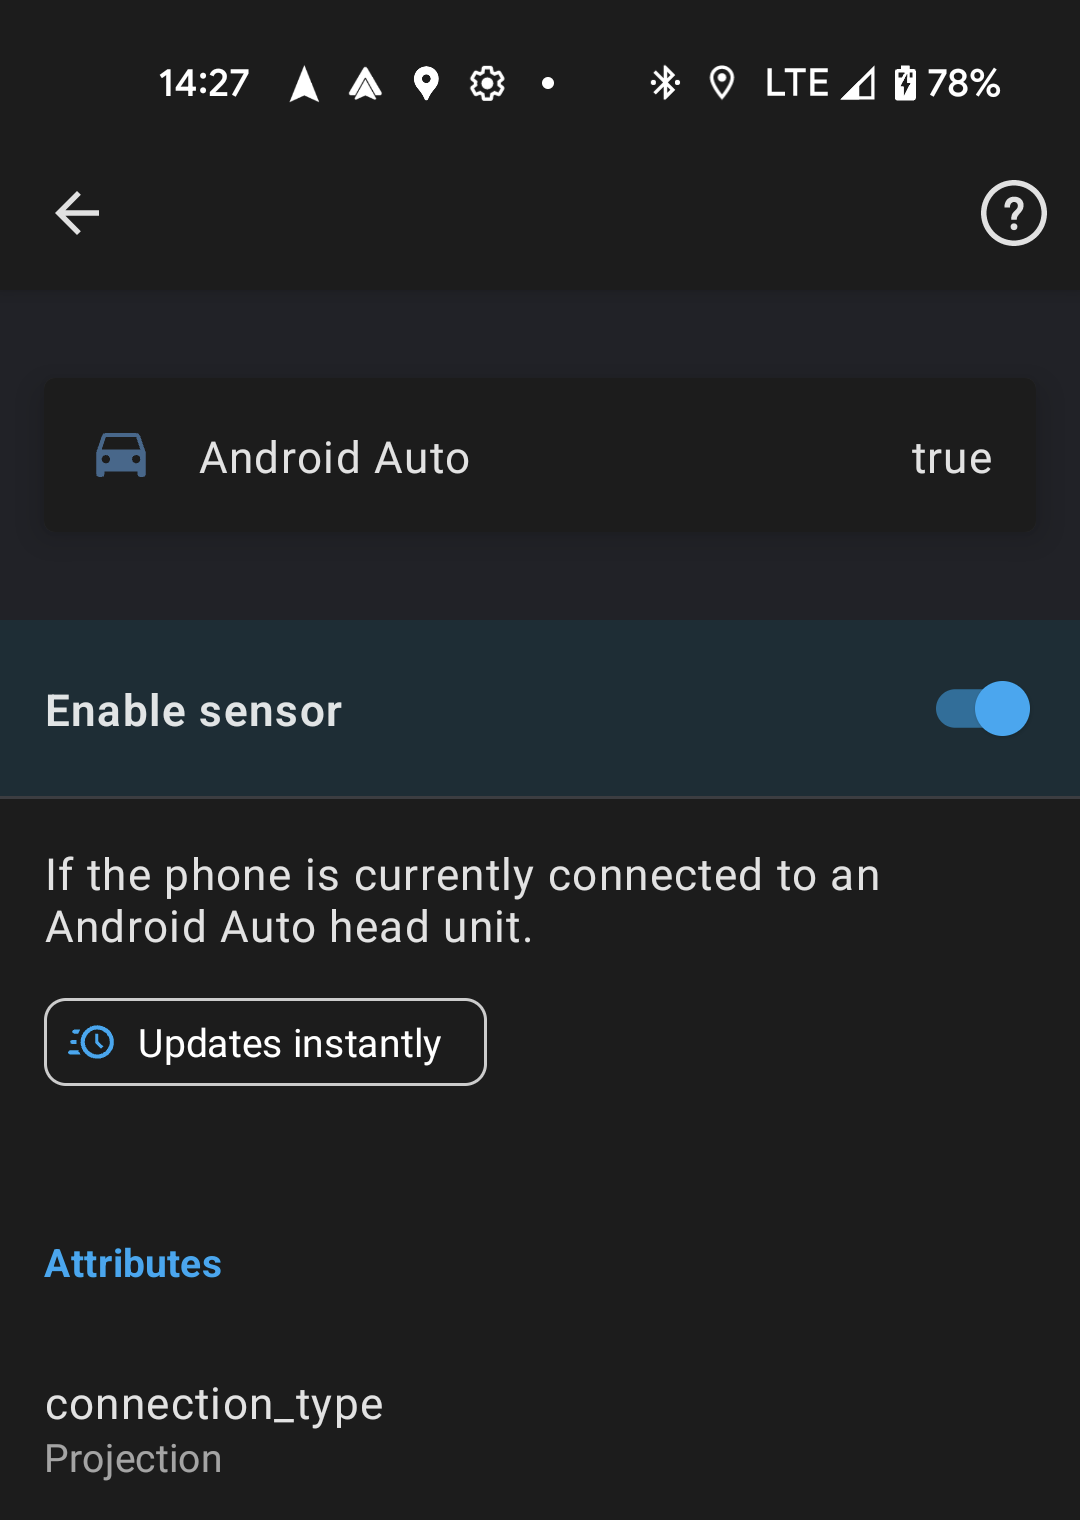
Hey everyone today we would like to announce that development has begun on Android Auto. In December, Google has released an update to Android Auto and are finally accepting IoT apps into the Play Store. As you guessed the team wanted to get features added immediately. Check out the new upcoming features the team has already started to add!
These features are currently available in our beta channel and will be released to stable in the next 2 weeks.
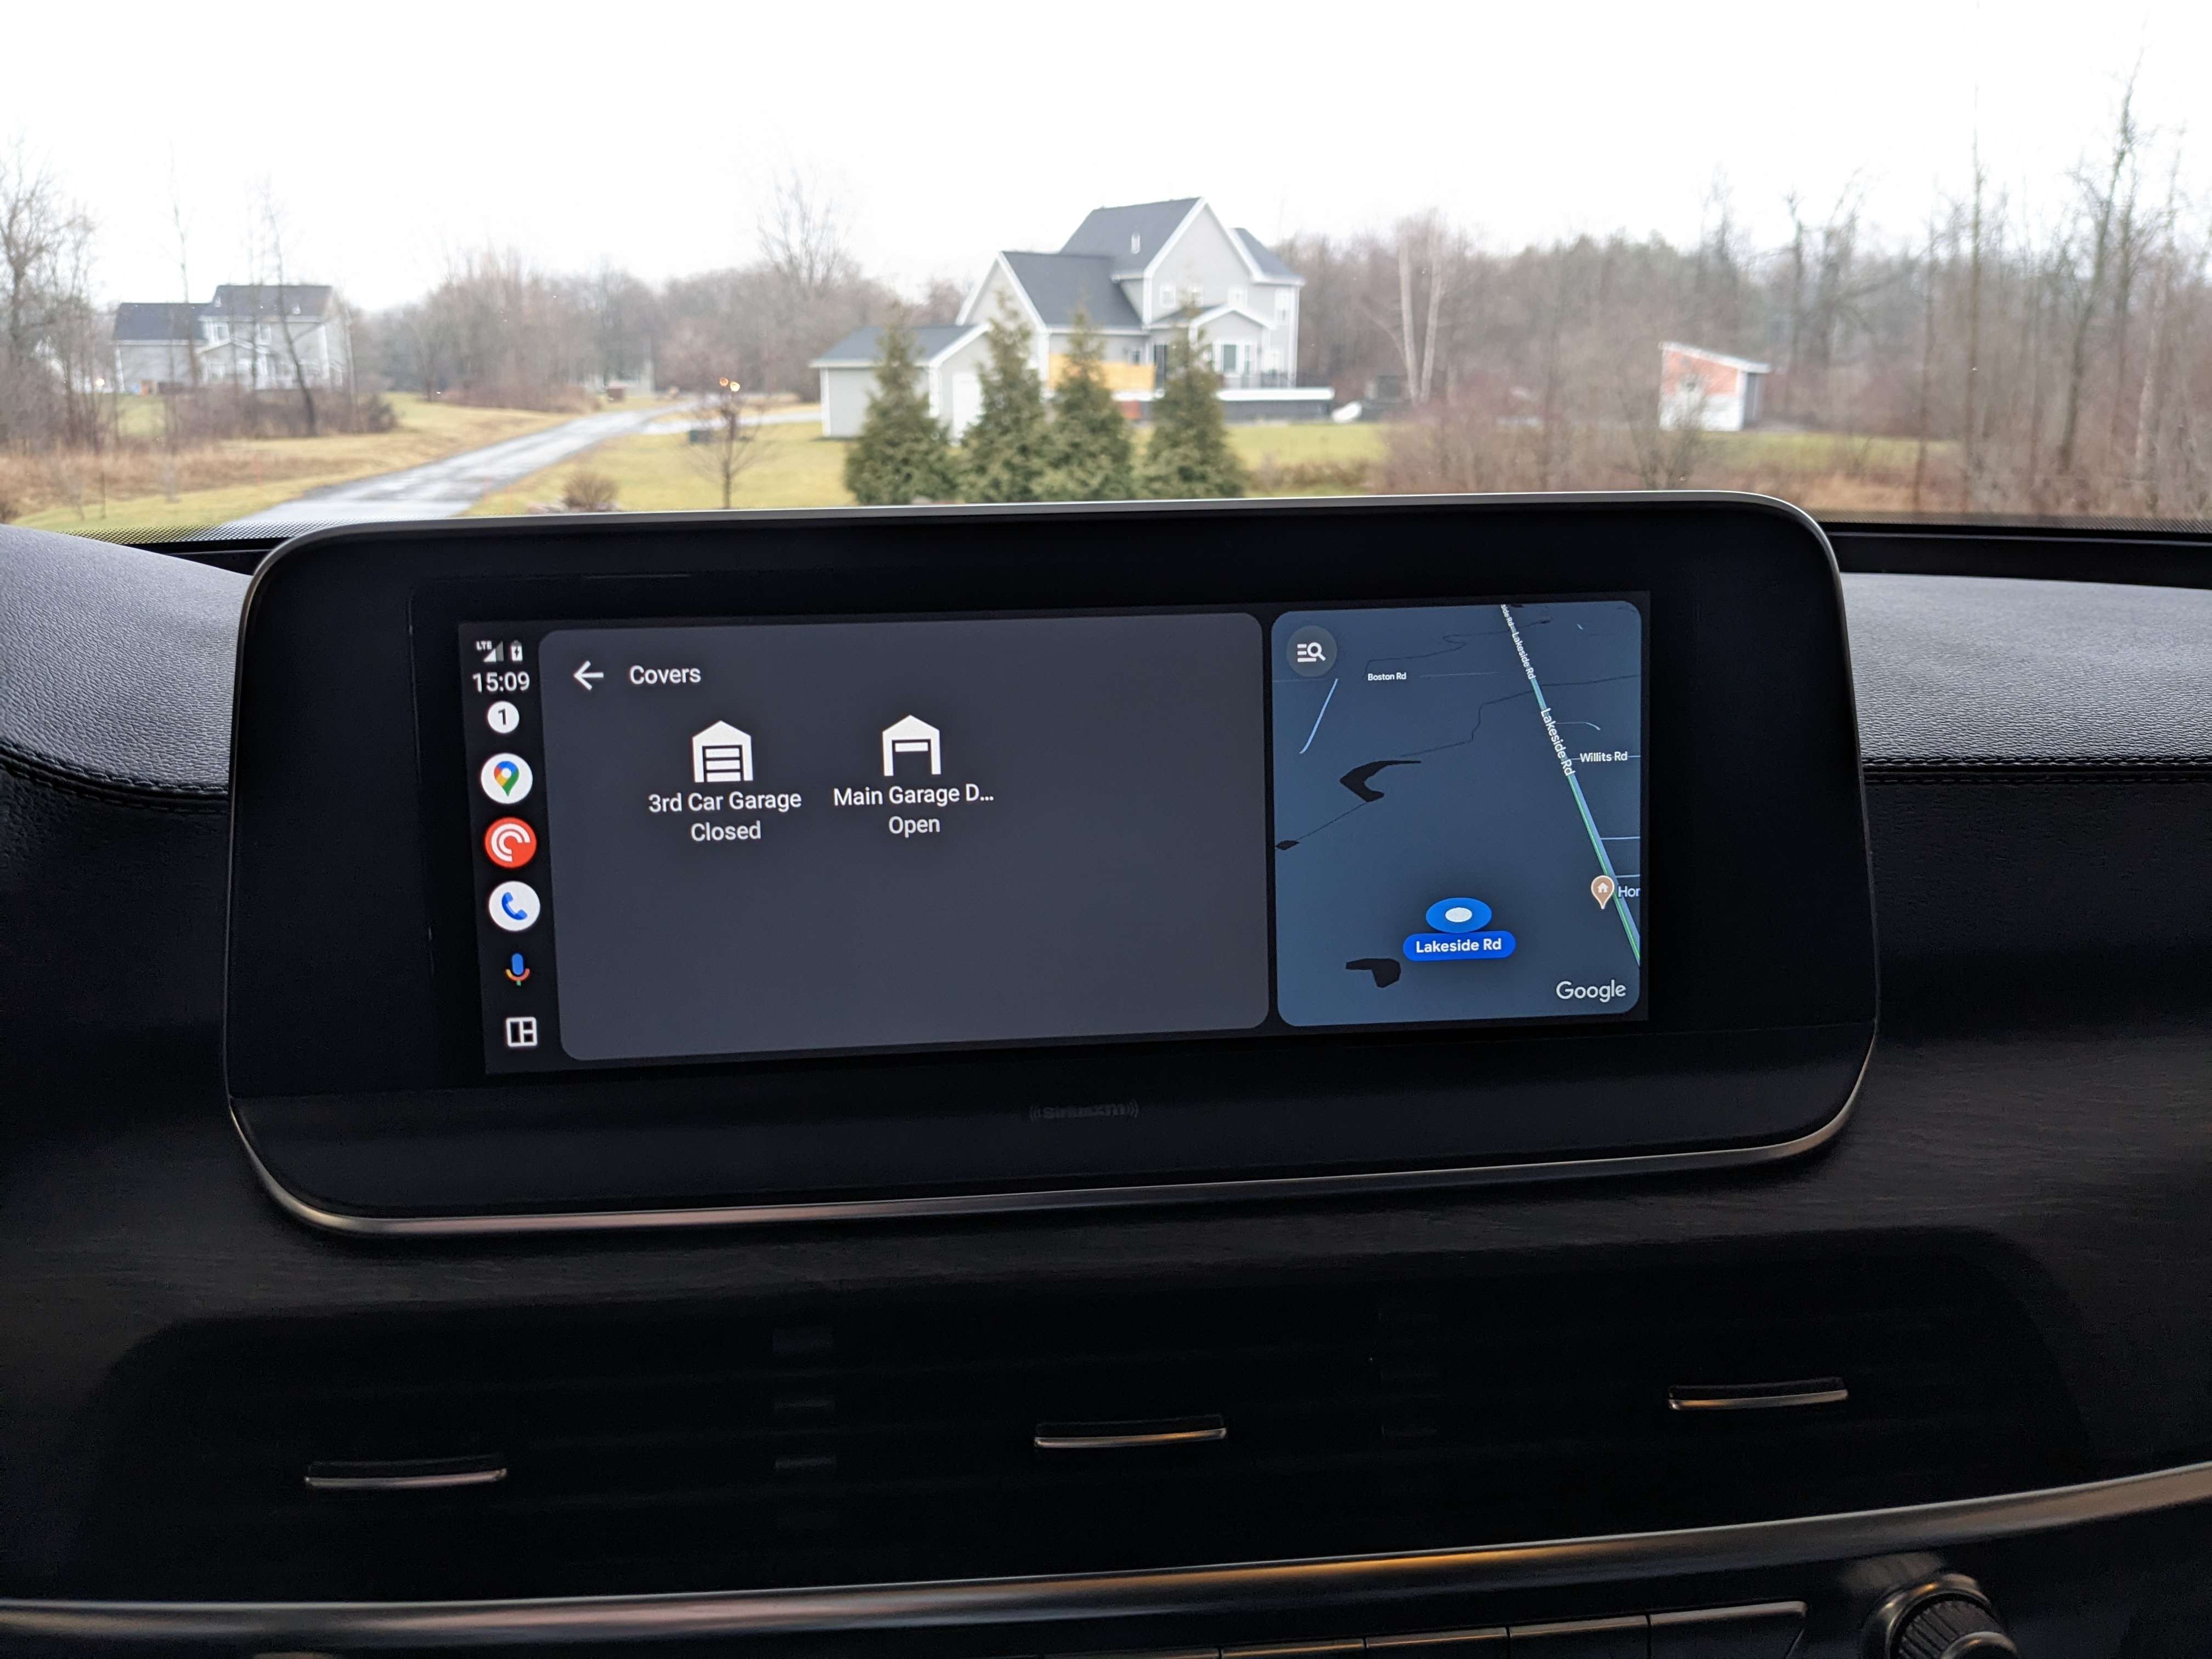
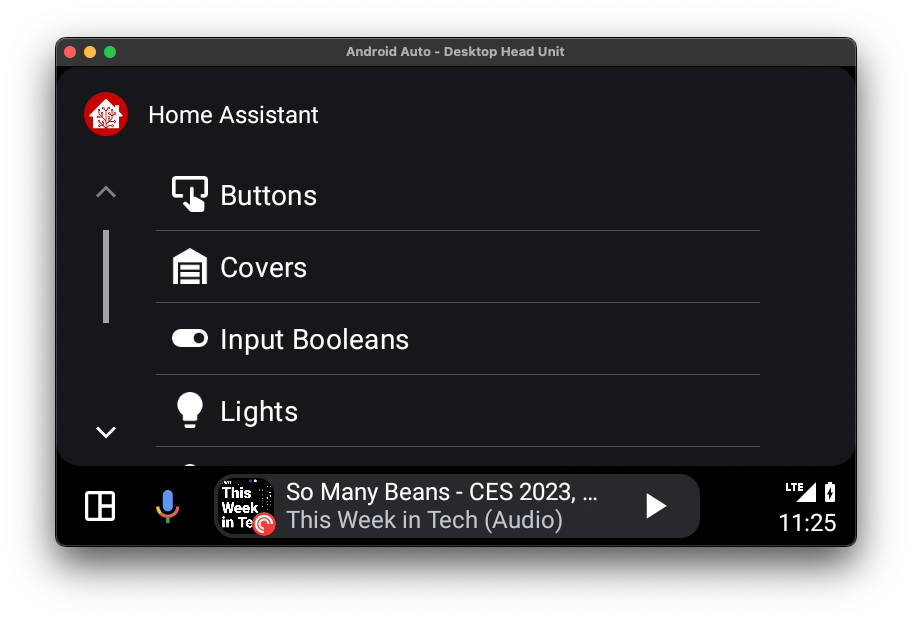
Once you launch the app from your head unit you will have easy access to devices like your garage door, lights, locks and even scenes.
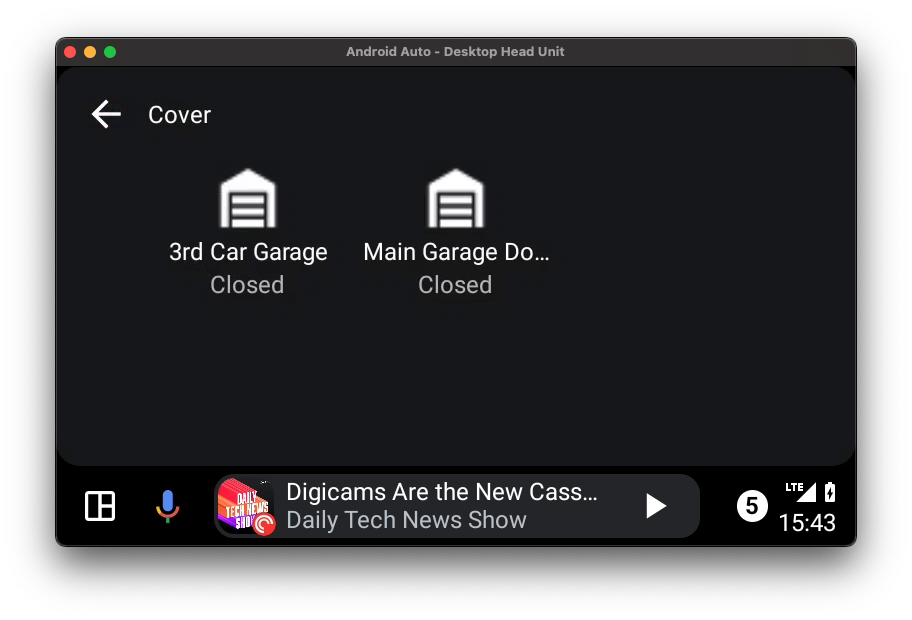
Tapping on a category allows you to see its entities and their state (with instant updates!). There are also simple touch controls to do things like opening the garage door before heading out.
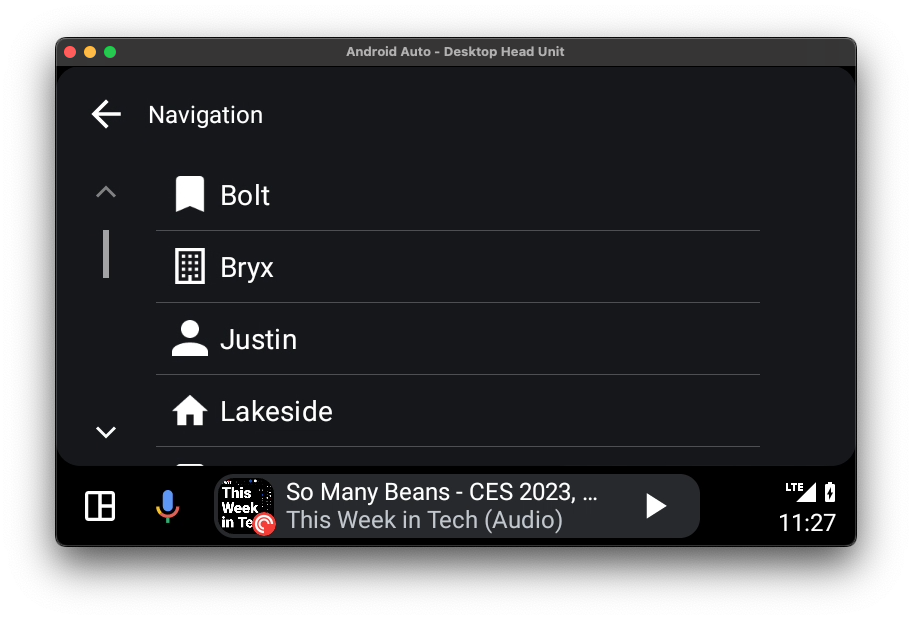
In addition to selecting a domain you can also navigate to anything in Home Assistant that has a location, like persons, devices or sensors.
We have also added a new binary sensor allowing you to automate when you are in the car and connected to the head unit. There is an additional attribute for the type of connection as well.
A big thank you to Jbassett and jpelgrom for their contributions to the new Android Auto app. We look forward to the continued improvements to this new experience.
2023.1: Happy New Year of the voice!
 Franck Nijhof
Happy New Year! 🍾
We wish you, and all the loved ones around you, all the best for 2023! 🥂
2023: What an exciting year this will be; The year of the voice! And not just that, many exciting things are expected this year. More spoilers can be found in the State of the Open Home 2022 recording on YouTube.
Starting this amazing year with: Home Assistant Core 2023.1! 🎊
A fairly small release, as we all enjoyed our Holidays. Yet, the first traces of the voice project are already visible: support for entity aliases!
Still, this release contains over 800 changes, most of which are quality improvements, bug and stability fixes, and other minor improvements. The perfect release to start the year with, an easy upgrade worth doing.
Enjoy the release!
../Frenck
PS: Did you know Home Assistant is now on Mastodon too?
Read on →2023: Home Assistant's year of Voice
TL;DR: It is our goal for 2023 to let users control Home Assistant in their own language. Mike Hansen, creator of Rhasspy, has joined Nabu Casa to lead this effort. We’re starting off by building a collection of intent matching sentences in every language.
Updates:
- Year of the Voice - Chapter 1 (January 26, 2023)
- Year of the Voice - Chapter 2 (April 27, 2023)
- Year of the Voice - Chapter 3 (July 20, 2023)
- Year of the Voice - Chapter 4 (October 12, 2023)
- Year of the Voice - Chapter 5 (December 13, 2023)
- Voice - Chapter 6 (February 21, 2024)
- Voice - Chapter 7 (June 26, 2024)
- Voice - Chapter 8 (December 19, 2024)
- Voice - Chapter 9 (February 13, 2024)
Usually, the month of December is meant to reflect back. However, we already did that last month when we hosted the State of the Open Home 2022. We didn’t only reflect, we also announced our focus for next year: 2023 is going to be the year of voice.
It is our goal for 2023 to let users control Home Assistant in their own language.
It’s a big and bold goal, but achievable given the right constraints. The amount of work laid out for us can be summarised as follows:

Our #1 priority is supporting different languages. There are enough projects out there trying to create an English voice assistant. But for us, that just doesn’t cut it. People need to be able to speak in their own language, as that is the most accessible and only acceptable language for a voice assistant for the smart home.
Read on →2022.12: It does matter!
Home Assistant Core 2022.12! 🎄
Already the last release of the year, right on time to bring you some cool new features to work with during the upcoming Holidays!
2022 has been a fantastic year for the Home Assistant project. We became one of the world’s largest and fastest-growing GitHub open source projects! ❤️ Tons of new features each month, and not just that, we matured a lot! Everything became more stable and faster, and the UX made leaps forwards as well!
We looked back at 2022 during the State of the Open Home, and sneak peaked at 2023, with some great new UI concepts and: The year of the voice! 🗣️ Missed it? The full video is available on YouTube.
But! The year isn’t over yet! This release really Matters! We are thrilled to be one of the first in the world to roll out Matter support to the public! 🎉
No Matter devices yet? Don’t worry! There are tons of things in this release that will keep you busy. The Tile card got “features”! You can now extend your Bluetooth range using Shelly devices, and a long-requested feature lands: Local Calendar. 🤩
For 2022, this is it! Thank you for joining our community. Thank you for sharing, helping out, contributing, creating YouTube videos, blog articles, and podcasts.
Thank you for using Home Assistant! ❤️
Happy holidays and for the last time in 2022: Enjoy the release!
../Frenck
Read on →2022.11: A heck of a release!
Home Assistant Core 2022.11! 🎉
This November already feels a lot like Christmas 🎄, what a heck of a release! Quite a few suggestions from the Month of “What the Heck?!” already landed! Ready to unpack the presents? 🎁
Talking about the WTH month, it ended. Well, sort of, at least. It is now closed for new topics/suggestions, but existing ones remain open for discussion and can be voted on. I’m curious to see more of these WTHs being resolved in the upcoming releases.
This release has so much goodness that I have a hard time picking a favorite. Water usage, maybe? I’m really not sure, so I’m going to cut this intro short. Let me know your favorite in the comments below!
Enjoy the release!
../Frenck
PS: There will be no release party live stream this month, instead join us at the State of the Open Home on Sunday, November 13, 2022 (11:00 AM PST / 20:00 CET).
Read on →Jasco joins Works with Home Assistant

Today we are excited to announce that Jasco has joined the Works with Home Assistant program as a Z-Wave partner.
Jasco is well known in the US for their Z-Wave switches and plugs. As a partner, Jasco and Nabu Casa will be working together to ensure the best experience for connecting Jasco Z-Wave devices to Home Assistant.
Jasco devices connect and integrate into Home Assistant using the Z-Wave integration (Z-Wave stick required). This means that connected Jasco devices work completely local and updates coming from the device are instantaneously reflected in Home Assistant. This allows for the best user experience when building your smart home.
One of Jasco’s claim to fame in the Home Assistant community is being the first company to provide firmware files (for 77 devices!) to the Z-Wave JS firmware update server. This service is used by Home Assistant to keep your devices secure. It is used to automatically detect if any of your Z-Wave devices have an updated firmware available and offer users to upgrade it.
Learn more about the Works with Home Assistant partner program.
Ultraloq joins Works with Home Assistant

Today we are excited to announce that Ultraloq by U-tec has joined the Works with Home Assistant program as a Z-Wave partner.
As a partner, U-tec and Nabu Casa will be working together to ensure the best experience for connecting Ultraloq Z-Wave smart locks to Home Assistant, including testing the actual products in the Nabu Casa labs.

Ultraloq smart locks connect and integrate into Home Assistant using the Z-Wave integration (Z-Wave stick required). This means that connected locks work completely local, and updates coming from the device are instantaneously reflected in Home Assistant. This allows for the best user experience when building your smart home.
Learn more about the Works with Home Assistant partner program.
Third Reality joins Works with Home Assistant

Today we are excited to announce our next Works with Home Assistant partner: Third Reality!
Third Reality, Inc. is a smart home products company that has been working with Home Assistant for quite a long time but is now making it official. As a partner, Third Reality and Nabu Casa will be working together to ensure the best experience for connecting Third Reality Zigbee devices to Home Assistant.
Third Reality devices will connect and integrate into Home Assistant easily using the Zigbee Home Automation integration (Zigbee stick required). This means that the devices operate completely locally and state changes coming from the device are instantaneously picked up by Home Assistant. This allows for the best user experience when building a smart home.
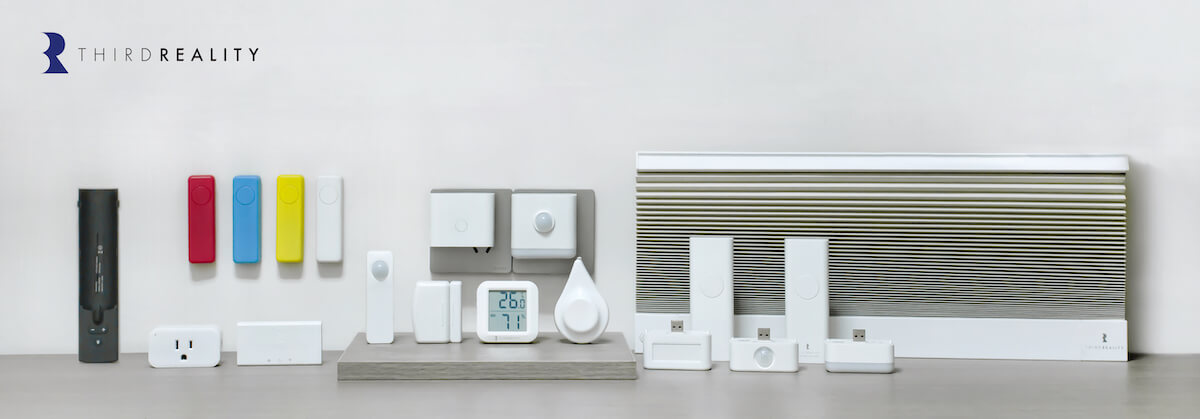
Their smart home product portfolio includes switches, motion sensors, door sensors, water leak sensors, plugs, blinds, and newly added buttons. Giving users a full catalog of smart home products. For more information and products about Third Reality, you can visit their website.
If you missed the announcement of the Works with Home Assistant partner program, make sure to check out the blog post.
2022.10: All over the place
Happy October! October is always a special month for the project. It is the month everybody starts working on their home automations again, the month that Hacktoberfest brings in lots of new contributions and contributors to the project (👋 welcome!), and also this year: the Month of “What the Heck?!”.
The Month of WTH already looks very promising, and many good and interesting issues, ideas, and suggestions to streamline have been proposed. Keep those topics and votes going ❤️.
Oh! And Home Assistant Core 2022.10! 🎉
Last month’s release was a big one; this month’s release mostly continues to improving on that. I guess it is no surprise that the biggest improvement can be found (once again) in Bluetooth! There is a lot more, though this release is a bit “all over the place”, which is actually kinda nice.
Enjoy the release!
../Frenck
PS: I noticed the Home Assistant SkyConnect is now available for pre-order 🥳
Read on →