Set up Hass.io on top of a virtual machine
The images for the Raspberry Pi family and the Intel NUC are an easy way to get started with Hass.io. For a test or if you have a system which is already hosting virtual machines then the Hass.io installer is an option to use Hass.io in a virtualized environment. In this guide the host is a Fedora 27 system with libvirt support and the guest will be running Debian 9. Hass.io will be installed on the guest.
Assuming that you already have setup libvirtd. You might need to install virt-builder and virt-viewer additionally.
sudo dnf -y install libguestfs-tools-c virt-install virt-viewer
We will create a virtual machine with Debian 9 and a 10 GB disk image in the QCOW format. Use $ virt-builder --list to get an overview about what’s operating systems are available if you prefer to use a different system.
$ sudo virt-builder debian-9 \
    --output /var/lib/libvirt/images/hassio.img \
    --format qcow2 \
    --size 10G \
    --root-password password:test123 \
    --hostname hassio \
    --firstboot-command "dpkg-reconfigure openssh-server"
[...]
[ 147.6] Finishing off
                   Output file: /var/lib/libvirt/images/hassio.img
                   Output size: 10.0G
                 Output format: qcow2
            Total usable space: 9.3G
                    Free space: 8.1G (87%)
Now, we are making our new virtual machine available for libvirtd. If you get an error that the OS is unknown, use $ osinfo-query os to get the name to use with --os-variant. To access the virtual machine is connected to the bridge bridge0.
$ sudo virt-install --name hassio --import --ram 1024 \
     --os-variant debian9 -w bridge=bridge0 \
     --autostart --disk /var/lib/libvirt/images/hassio.img
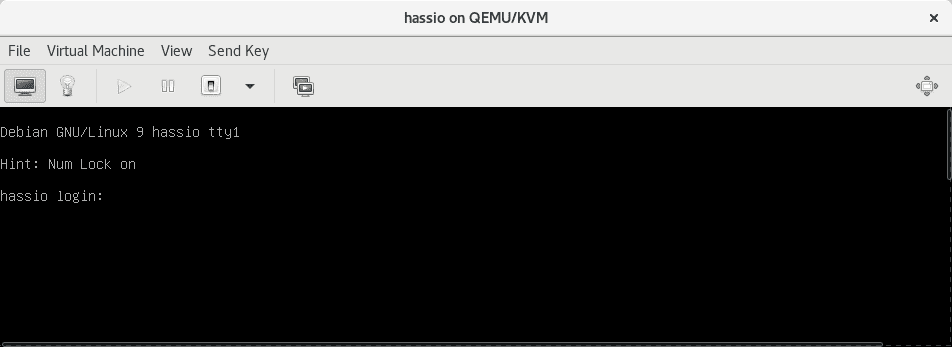 Hass.io virtual machine in Virtual Machine Manager
Depending on your preferences you can use the Virtual Machine Manager (virt-manager) or virsh to manage the created virtual machine. Log in and create an user with # useradd ha and set a password with # passwd ha. We will need that user to make a SSH connection to the virtual machine.
Log in as ha with the given password. If your are using the default network of libvirtd then the DHCP range is defined in /var/lib/libvirt/dnsmasq/default.conf. In this guide the virtual machine is present at 192.168.0.109.
$ ssh [email protected]
[email protected]'s password:
Linux hassio 4.9.0-3-amd64 #1 SMP Debian 4.9.30-2+deb9u3 (2017-08-06) x86_64
[...]
$
Install the requirements after you switch the user to root.
$ su
Password:
root@hassio:/home/ha#
root@hassio:/home/ha# apt-get update
root@hassio:/home/ha# apt-get install bash socat jq curl avahi-daemon \
    apt-transport-https ca-certificates
We want the latest Docker release. This requires additional steps to set it up as unlike other distributions Debian is lacking behind with current packages.
root@hassio:/home/ha# wget https://download.docker.com/linux/debian/gpg
root@hassio:/home/ha# apt-key add gpg
OK
root@hassio:/home/ha# echo "deb [arch=amd64] https://download.docker.com/linux/debian $(lsb_release -cs) stable" | tee -a /etc/apt/sources.list.d/docker.list
root@hassio:/home/ha# apt-get update
Now, it’s possible to install a current release of Docker.
root@hassio:/home/ha# apt-get -y install docker-ce
Start docker and enable it.
root@hassio:/home/ha# systemctl start docker && systemctl enable docker
An installation script will take care about the setup of all moving parts.
root@hassio:/home/ha# curl -sL https://raw.githubusercontent.com/home-assistant/hassio-build/master/install/hassio_install | bash -
[INFO] Install supervisor docker
[INFO] Install generic HostControl
[INFO] Install startup scripts
[INFO] Init systemd
Created symlink /etc/systemd/system/multi-user.target.wants/hassio-supervisor.service → /etc/systemd/system/hassio-supervisor.service.
[INFO] Start services
If it’s done, then there will be two new containers.
root@hassio:/home/ha# docker ps
CONTAINER ID        IMAGE                                    COMMAND                  CREATED             STATUS              PORTS               NAMES
ada5bbfc74f0        homeassistant/qemux86-64-homeassistant   "/usr/bin/entry.sh..."   4 minutes ago       Up 4 minutes                            homeassistant
5954ac452ffc        homeassistant/amd64-hassio-supervisor    "/usr/bin/entry.sh..."   7 minutes ago       Up 7 minutes                            hassio_supervisor
After a connection to the container which is containing Home Assistant is made, you will see the log output.
root@hassio:/home/ha# docker attach --sig-proxy=false ada5bbfc74f0
2017-11-28 19:24:30 INFO (MainThread) [homeassistant.core] Bus:Handling <Event state_changed[L]: entity_id=sun.sun, old_state=<state sun.sun=below_horizon; next_dawn=2017-11-29T06:17:58+00:00,...
For further details about the container, inspect can help.
root@hassio:/home/ha# docker inspect bb32b525d1ad
[...]
            "OnBuild": null,
            "Labels": {
                "io.hass.arch": "amd64",
                "io.hass.machine": "qemux86-64",
                "io.hass.type": "homeassistant",
                "io.hass.version": "0.58.1"
            }
[...]
Hass.io is now ready. The frontend is available at http://192.168.0.109:8123. Yes, the IP address is the one of the guest.
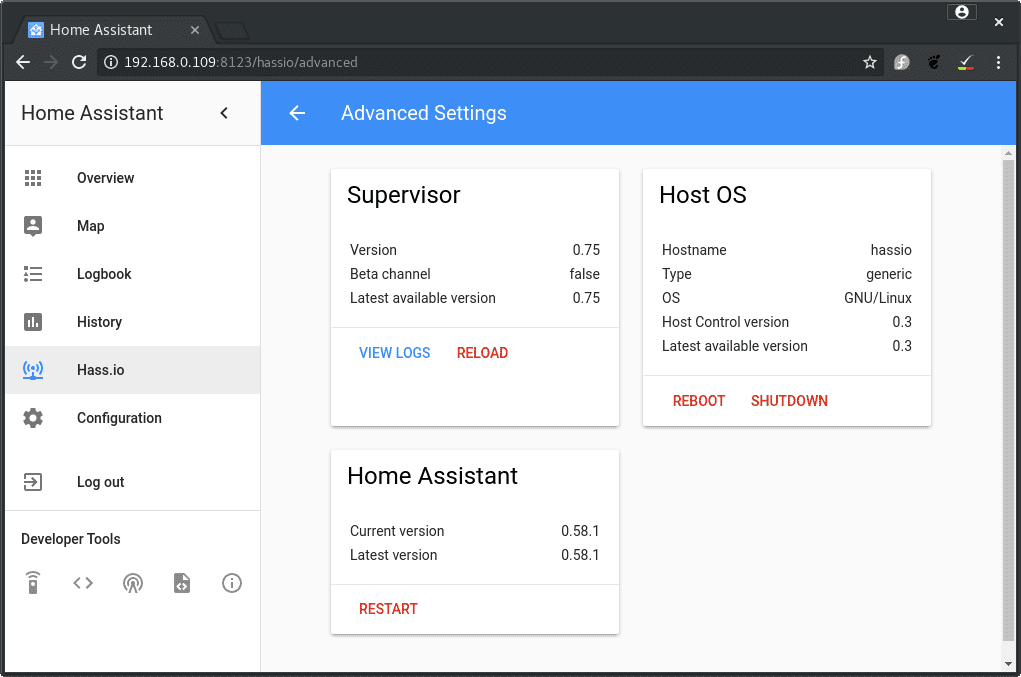 Hass.io overview
Keep in mind that there are limitations with this approach. Not all add-ons will work and some don’t make sense to use as the hardware is not present. E.g., use the SSH community add-on instead of the default SSH add-on.