Using USB webcams with Home Assistant
 In the past month I was thinking about ways to integrate USB webcams into Home Assistant again. The main reason was that this would give those devices a second life and enable one to benefit from low-cost video surveillance. There are a couple of options available like [pygame](http://www.pygame.org/hifi.html) or [SimpleCV](http://www.simplecv.org/) but I never finished something. With the [Local File camera platform](/integrations/local_file) by [Landrash](https://github.com/Landrash) and [motion](http://lavrsen.dk/foswiki/bin/view/Motion/WebHome) you could integrate a local USB webcam with a few very easy steps.
In this blog post I am using a Fedora 24 (will most likely work on other distributions too) installation with Home Assistant 0.22.1 on a Foxconn nT-330i with an old Logitech QuickCam Orbit AF and a Logitech HD Webcam C270. As a start only the Quickcam is used. No multi-camera setup for now.
Check first if the your operating system lists your cameras.
$ lsusb
[...]
Bus 002 Device 016: ID 046d:08cc Logitech, Inc. Mic (PTZ)
[...]
The camera we are going to use is available at /dev/video1. The C270 is the one on /dev/video0.
$ ls -al /dev/video*
crw-rw----+ 1 root video 81, 0 Jun 23 08:05 /dev/video0
crw-rw----+ 1 root video 81, 1 Jun 23 08:36 /dev/video1
We need an additional software part to handle the cameras. motion is capable of monitoring the video signal from USB and network cameras, do motion detection, and other nifty stuff like saving images, add text, or basic image manipulations. Make sure that you have the RPM Fusion repository enabled.
sudo dnf -y install motion
For our setup we need to modify the file /etc/motion/motion.conf. For now the most important parameters are videodevice, snapshot_interval, and target_dir. The other settings can be left to their defaults. We are going to use the device /dev/video1, use a 30 seconds interval, and set the path to /tmp.
[...]
###########################################################
# Capture device options
############################################################

# Videodevice to be used for capturing  (default /dev/video0)
# for FreeBSD default is /dev/bktr0
videodevice /dev/video1

[..]
############################################################
# Snapshots (Traditional Periodic Webcam File Output)
############################################################

# Make automated snapshot every N seconds (default: 0 = disabled)
snapshot_interval 30

[...]
############################################################
# Target Directories and filenames For Images And Films
# For the options snapshot_, picture_, movie_ and timelapse_filename
# you can use conversion specifiers
# %Y = year, %m = month, %d = date,
# %H = hour, %M = minute, %S = second,
# %v = event, %q = frame number, %t = thread (camera) number,
# %D = changed pixels, %N = noise level,
# %i and %J = width and height of motion area,
# %K and %L = X and Y coordinates of motion center
# %C = value defined by text_event
# Quotation marks round string are allowed.
############################################################

# Target base directory for pictures and films
# Recommended to use absolute path. (Default: current working directory)
target_dir /tmp

[...]
It’s suggested that you adjust at least width and height to get a bigger image from your camera. If you are done, fire up motion.
$ sudo motion
[0] [NTC] [ALL] conf_load: Processing thread 0 - config file /etc/motion/motion.conf
[0] [ALR] [ALL] conf_cmdparse: Unknown config option "sdl_threadnr"
[0] [NTC] [ALL] motion_startup: Motion 3.3.0 Started
[0] [NTC] [ALL] motion_startup: Logging to file (/var/log/motion.log)
Your target_dir will start filling up with images from your camera. motion will create a symlink called lastsnap.jpg which always point to the latest snapshot. We will setup the Local File camera platform to use this file.
camera:
  - platform: local_file
    name: Cranberry cam
    file_path: /tmp/lastsnap.jpg
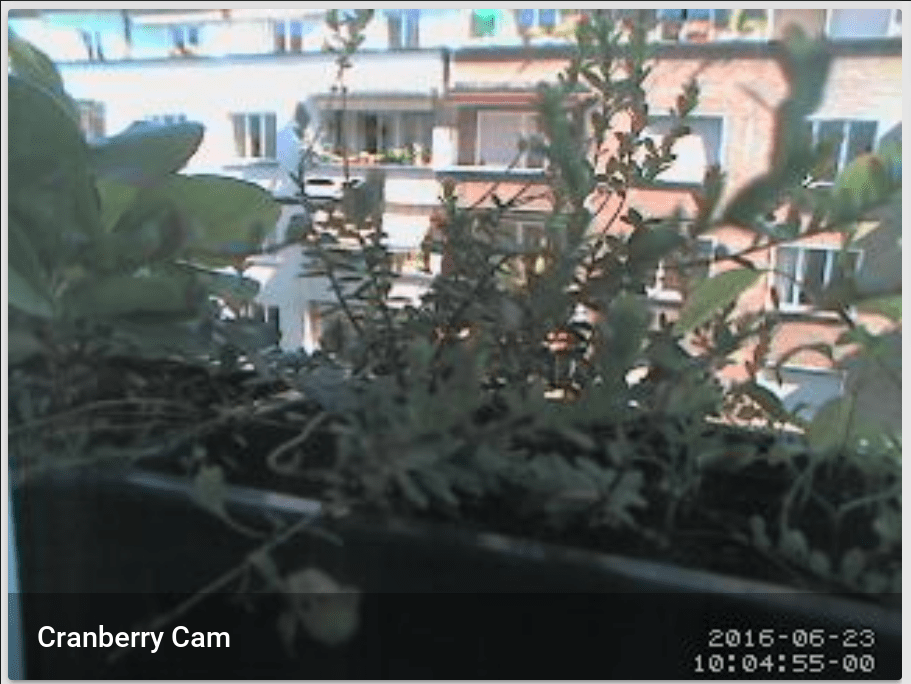 The "Cranberry cam" in action
The machine with the attached USB camera will become a webcam server as well because motion’s built-in HTTP server is enabled by default. This means that you could connect your USB webcams to a different machine in your network, run motion there, adjust your firewall rules, and use Home Assistant to display the videos. Just check http://[IP of your webcam host]:8081/ to see the stream. This required more powerful hardware than using snapshots, of course.
In a scenario like this needs a Generic MJPEG IP Camera in your configuration.yaml file.
camera:
  - platform: mjpeg
    mjpeg_url: http://[IP of your webcam host]:8081
    name: Cranberry Live cam
motion is a powerful tool and this blog post only showed two very simple use cases. Take a look at the documentation of motion to unleash its potential.