dweet.io
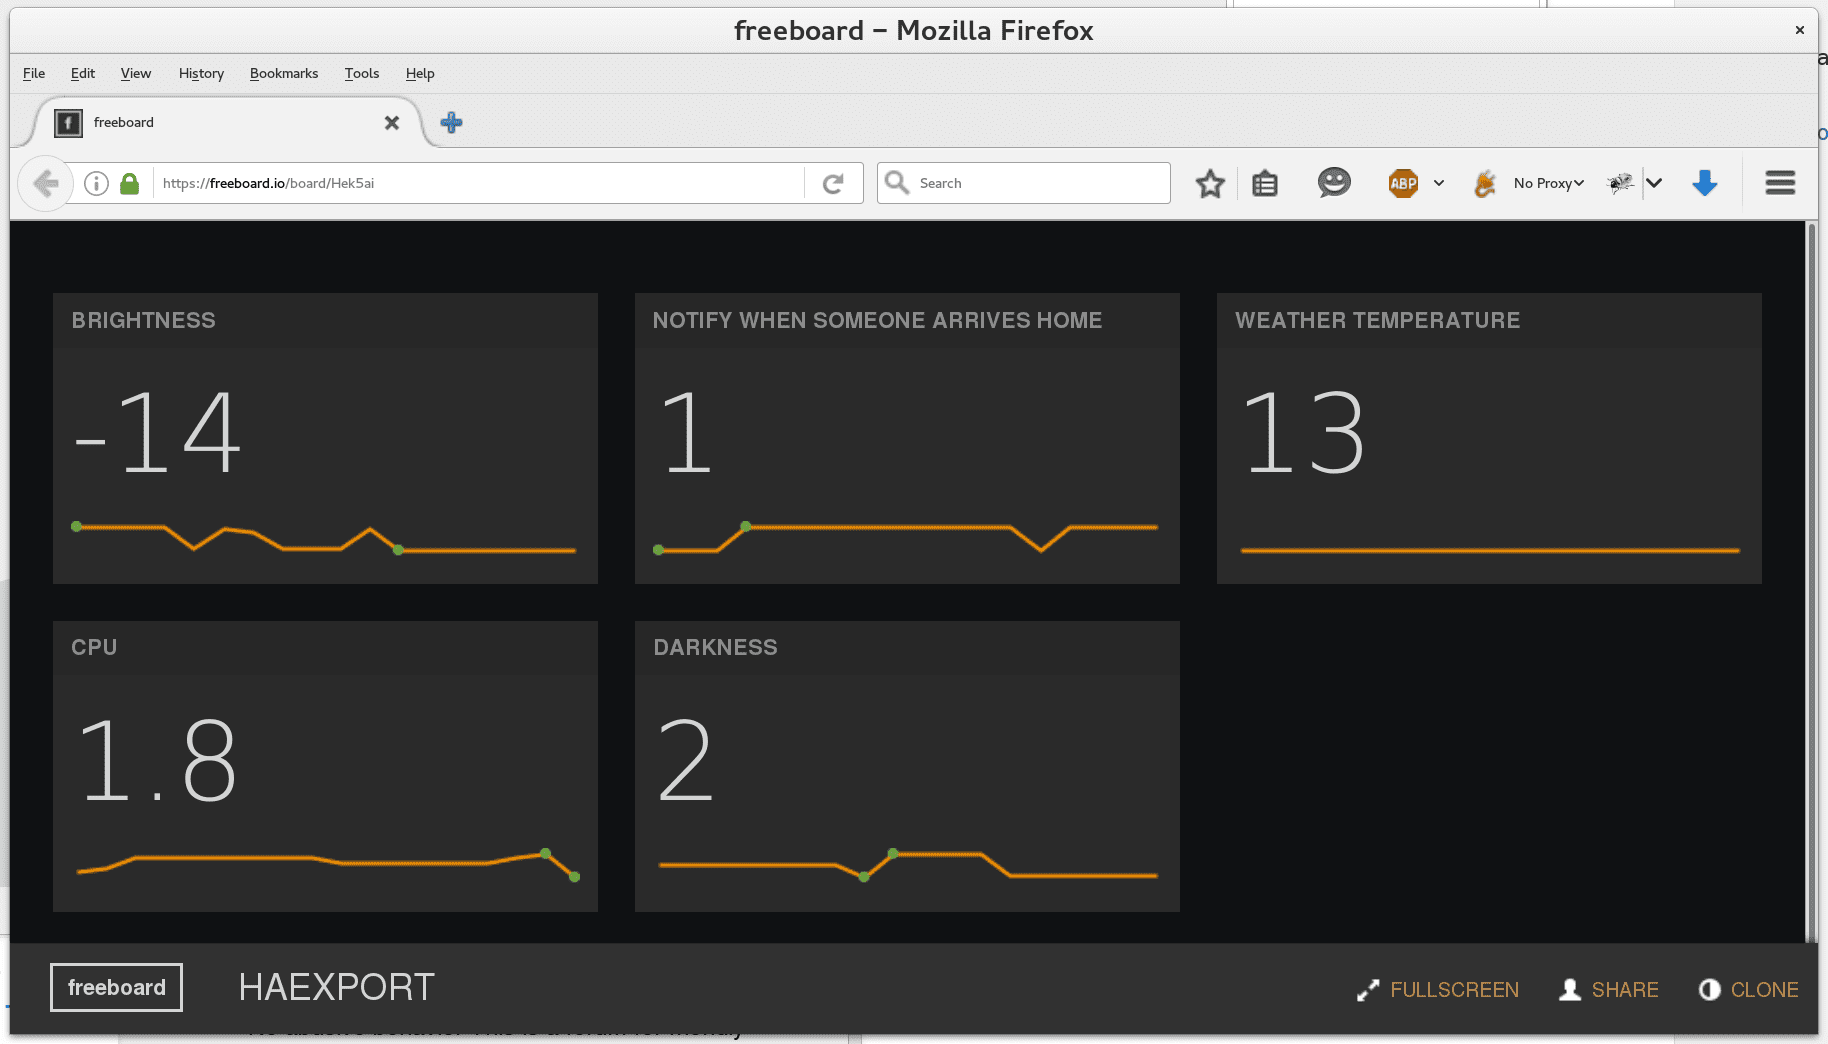
The dweet integrationIntegrations connect and integrate Home Assistant with your devices, services, and more. [Learn more] makes it possible to transfer details collected with Home Assistant to Dweet.io

The publishing interval is limited to 1 second. This means that it’s possible to miss fast changes.
There is currently support for the following device types within Home Assistant:
Configuration
To use the dweet integration in your installation, add the following to your configuration.yamlThe configuration.yaml file is the main configuration file for Home Assistant. It lists the integrations to be loaded and their specific configurations. In some cases, the configuration needs to be edited manually directly in the configuration.yaml file. Most integrations can be configured in the UI. [Learn more] file.
After changing the configuration.yamlThe configuration.yaml file is the main configuration file for Home Assistant. It lists the integrations to be loaded and their specific configurations. In some cases, the configuration needs to be edited manually directly in the configuration.yaml file. Most integrations can be configured in the UI. [Learn more] file, restart Home Assistant to apply the changes. The integration is now shown on the integrations page under Settings > Devices & services. Its entities are listed on the integration card itself and on the Entities tab.
# Example configuration.yaml entry
dweet:
  name: YOUR_UNIQUE_IDENTIFIER
  whitelist:
    - input_number.brightness
    - input_boolean.notify_home
    - sensor.weather_temperature
    - sensor.cpu
Sensor
The dweet sensor platform allows you to get details from your devices which are publishing their values to Dweet.io
Configuration
To use Dweet.io sensors in your installation, add the following to your configuration.yamlThe configuration.yaml file is the main configuration file for Home Assistant. It lists the integrations to be loaded and their specific configurations. In some cases, the configuration needs to be edited manually directly in the configuration.yaml file. Most integrations can be configured in the UI. [Learn more] file:
# Example configuration.yaml entry
sensor:
  - platform: dweet
    device: THING_NAME
    value_template: "{{ value_json.VARIABLE }}"
Configuration Variables
The variable to extract a value from the content.
Let you overwrite the name of the device in the frontend.
Full configuration sample
A full configuration entry could look like the sample below.
# Example configuration.yaml entry
sensor:
  - platform: dweet
    name: Temperature
    device: THING_NAME
    value_template: "{{ value_json.VARIABLE }}"
    unit_of_measurement: "°C"
Interacting with Dweet.io
You can easily send dweets from the command-line to test your sensor with curl.
curl -H 'Content-Type: application/json' -d '{"temperature": 40, "humidity": 65}' https://dweet.io/dweet/for/ha-sensor
will give you a response like the one below:
{"this":"succeeded","by":"dweeting","the":"dweet","with":{"thing":"ha-sensor","created":"2015-12-10T09:43:31.133Z","content":{"temperature":40,"humidity":65}}}
The dweepy
Send a dweet.
$ python3
>>> import dweepy
>>> dweepy.dweet_for('ha-sensor', {'temperature': '23', 'humiditiy':'81'})
{'thing': 'ha-sensor', 'created': '2015-12-10T09:46:08.559Z', 'content': {'humiditiy': 81, 'temperature': 23}}
Receive the latest dweet.
>>> dweepy.get_latest_dweet_for('ha-sensor')
[{'thing': 'ha-sensor'', 'created': '2015-12-10T09:43:31.133Z', 'content': {'humidity': 65, 'temperature': 40}}]