GPSLogger
This integration sets up integration with GPSLogger
Configuration
To configure GPSLogger, you must set it up via the integrations panel in the configuration screen. This will give you the webhook URL to use during mobile device configuration (below).
Setup on your smartphone
Install GPSLogger for Android from GitHub
After the launch, go to General Options. Enable Start on bootup and Start on app launch.
 GPSLogger Settings
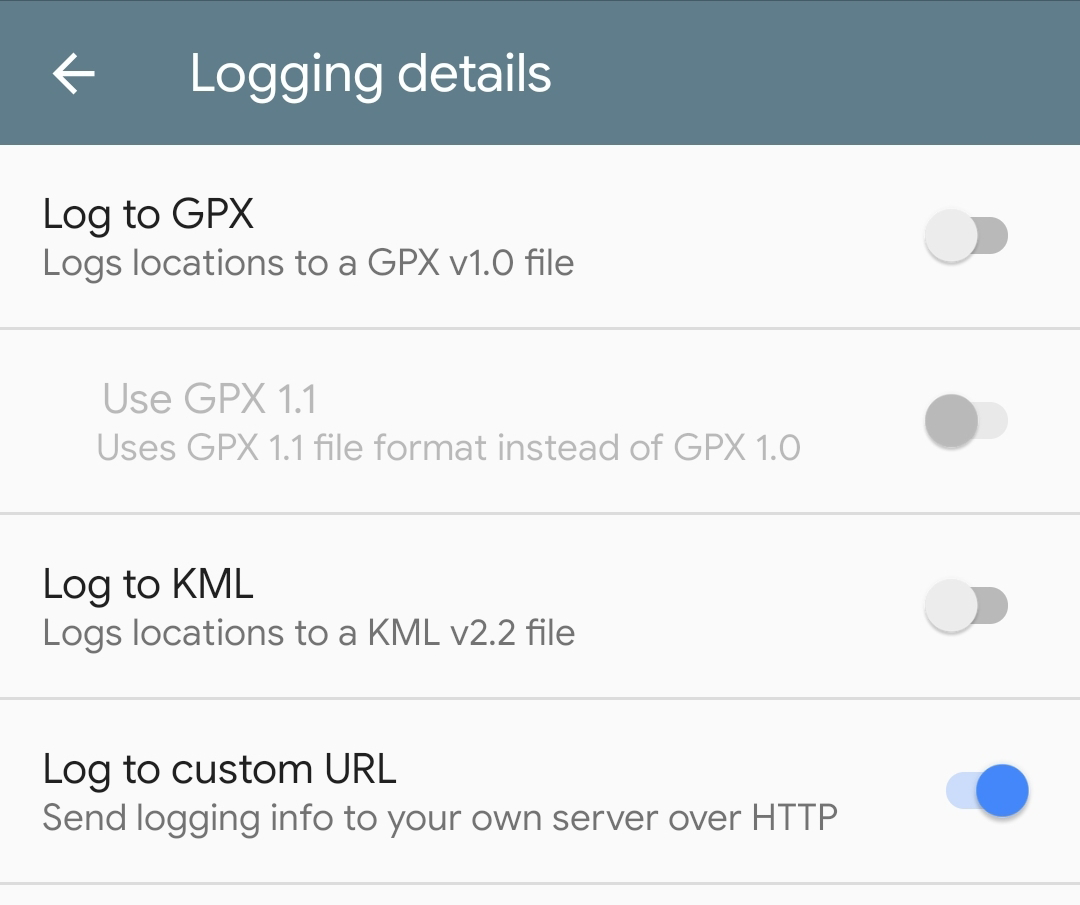
Go to Logging details and disable Log to GPX. Enable Log to custom URL.
 Logging Details
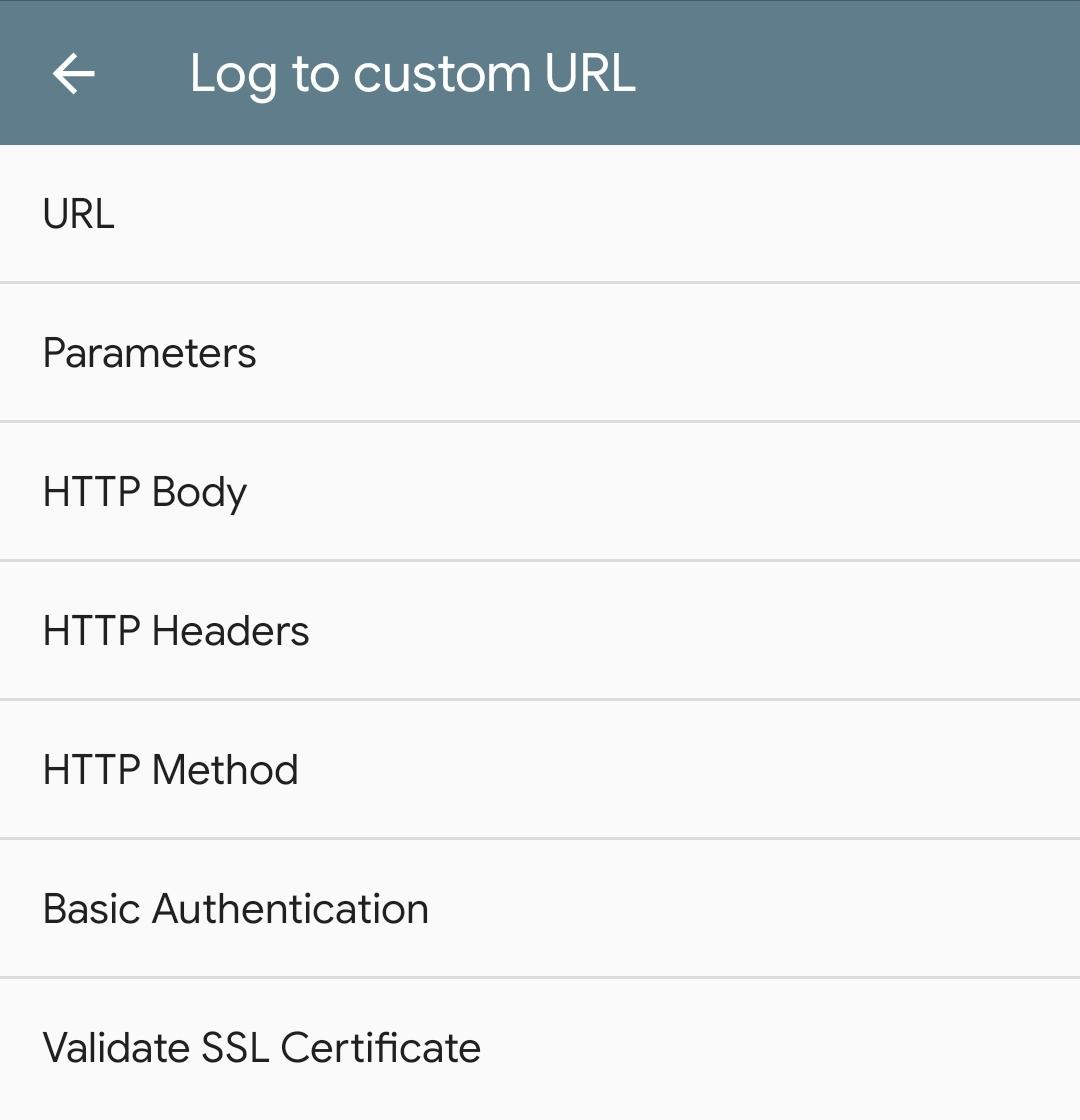
Right after enabling, the app will take you to the Log to custom URL settings.
 Log to custom URL details
The relevant endpoint starts with: /api/webhook/ and ends with a unique sequence of characters. This is provided by the integrations panel in the configuration screen (configured above).
https://YOUR.DNS.HOSTNAME:PORT/api/webhook/WEBHOOK_ID
- Add the above URL (updating YOUR.DNS.HOSTNAME:PORT to your details) into the URL field.
- It’s HIGHLY recommended to use SSL/TLS.
- Use the domain that Home Assistant is available on the internet (or the public IP address if you have a static IP address). This can be a local IP address if you are using an always on VPN from your mobile device to your home network.
- Only remove
PORTif your Home Assistant instance is using port 443. Otherwise set it to the port you’re using. - Add the following to HTTP Body
latitude=%LAT&longitude=%LON&device=%SER&accuracy=%ACC&battery=%BATT&speed=%SPD&direction=%DIR&altitude=%ALT&provider=%PROV&activity=%ACT
- You can change the
device_idof your phone by replacing&device=%SERwith&device=SOME_DEVICE_ID, otherwise your phone’s serial number will be used. - Check that the HTTP Headers setting contains
Content-Type: application/x-www-form-urlencoded
- Make sure that HTTP Method is changed to
POST
If your battery drains too fast then you can tune the performance of GPSLogger under Performance.
 Performance
A request can be forced from the app to test if everything is working fine.